Prior to GenerateBlocks 1.7, adding a Buttons block to the page added two blocks, the Button Container and individual Button block inside of it. With the new Container block and the addition of the flexbox options, it made perfect sense to deprecate the “Buttons” block.
This change provides users with more control over their designs and allows for greater creativity by revealing more possibilities.
Button Alignment Examples
Multiple button blocks in one row
This is the default behaviour of a Button block as its Display attribute is set to inline-flex.
Multiple button blocks in one row with Alignment
To set alignments for multiple Button blocks in one row:
1. Wrap the Button blocks with a Container block.
2. Select the Container block and choose the following settings under the Layout component:
- Display:
flex - Column gap:
10px(optional: to add space between Button blocks)
3. Use the Justify Content options to set the desired alignment.
Multiple button blocks fill one row
To make multiple Button blocks in one row and fill the entire space:
1. Wrap the Button blocks with a Container block.
2. Select the Container block and choose the following settings under the Layout component:
- Display:
flex - Column gap:
10px(optional: to add space between Button blocks)
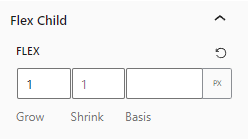
3. Select the Button blocks and use the following setting under Flex Child:
- Flex grow:
1
stack full-width button blocks
To stack the Button blocks vertically and make them full width:
Select the Button blocks and choose the following settings under the Layout component:
- Display:
flex - Justify content:
center/flex-start/flex-end(optional: to position the Button content)
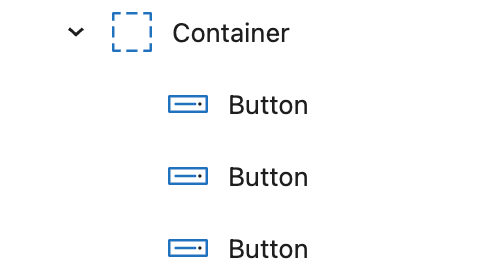
stack non-full-width button blocks
To stack the Button blocks vertically and do NOT make them full width:
1. Wrap the Button blocks with a Container block.
2. Select the Container block and choose the following settings under the Layout component:
- Display:
flex - Direction:
column - Row gap:
10px(optional: to add space between Button blocks)
3. Multi-select the Button blocks and and choose the following settings under the Spacing component:
- Margin-left:
auto - Margin-right:
auto
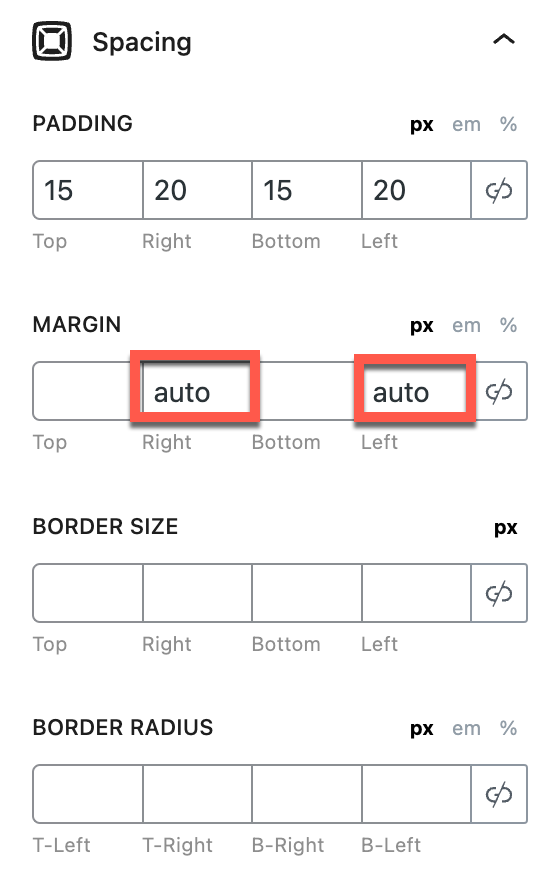
Note: when both margin left& right is set to auto, it horizontally centers the Button block.
To align the Button to the left, set only the ‘margin-right’ property to auto.
To align the Button to the right, set only the ‘margin-left’ property to auto.